Configuring the MIRO for cellular communications
This guide illustrates how to configure a MIRO Power Quality Logger and Analyser for cellular communications.
Installing the SIM
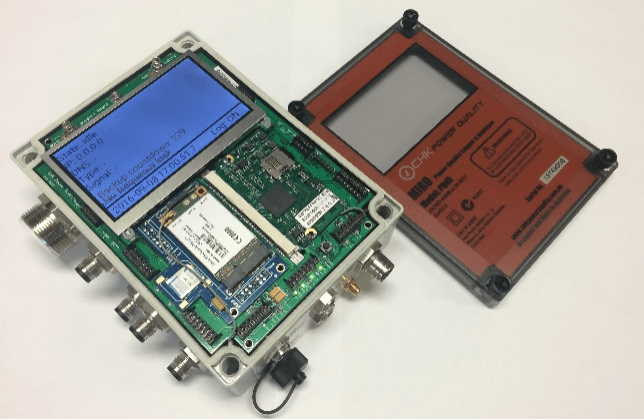
Step 1 : Unplug the MIRO from the all power sources (including the communications cable). The MIRO has a backup battery and will power down in five minutes if it was powered with a single phase or three phase voltage lead.
Step 2 : Loosen the screws on the top cover and remove carefully. There are no attachments between the top cover and the enclosure.
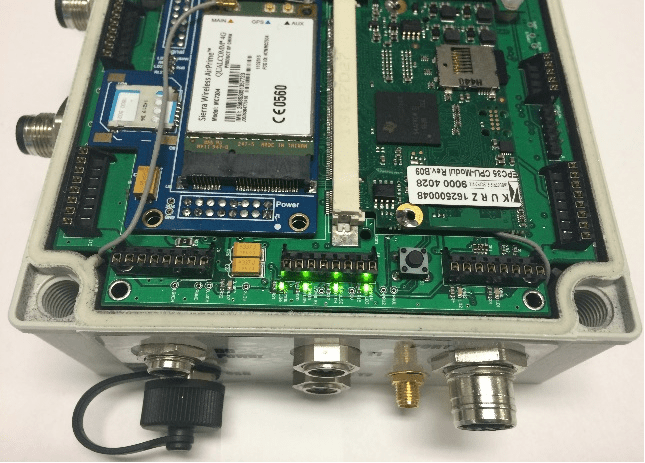
Step 3 : If required, the unit can be powered down immediately by pressing the reset button indicated by the arrow in figure 2.
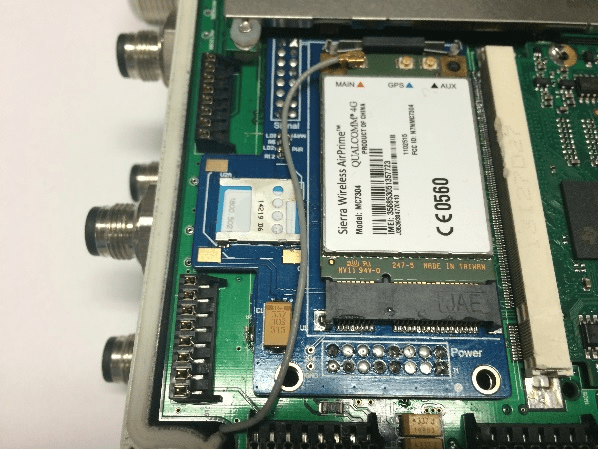
Step 4 : Insert the micro SIM, ensuring the card is oriented correctly and the metal contact on the SIM is face down.

The card must be pushed in fully and can be done using your fingers.
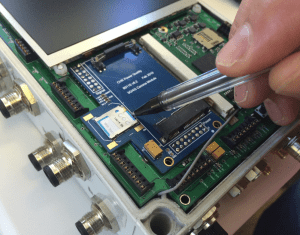
Once inserted, the SIM can be removed using a pen.
Place the tip of the pen to the edge of the SIM as shown in figure 5.

Step 5 : Replace the top cover carefully, and tighten the screws, taking care NOT to overtighten to the point where the top cover edges start to bow. Tightness is sufficient when the edges of the top cover and enclosure meet.
Configuring the instrument
Step 6 : Connect the instrument to a lap top or PC, using the supplied USB communication cable. Double click on the Citrus icon on the desktop to launch the Citrus Software application. The form shown in figure 7 appears.
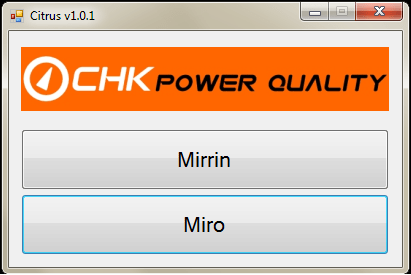
Step 7 : Click on the ‘Miro’ button shown in figure 7. A form providing management options appears as shown in figure 8
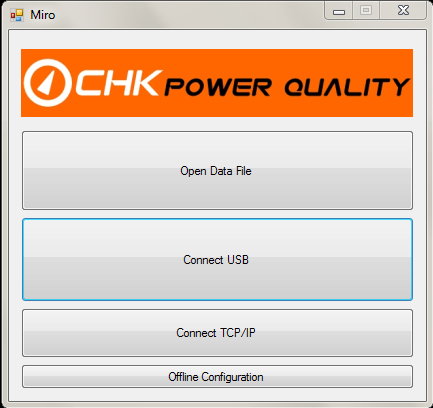
Step 8 : Click the ‘Connect USB’ button and then the ‘Configuration’ button. A configuration form appears. Select the ‘Comms’ tab.
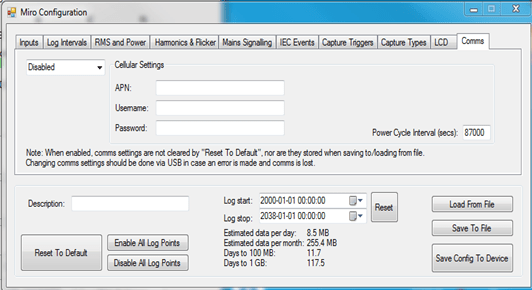
Step 9 : Enter the APN, Username, Password, and select ‘Cellular’ in the top left hand corner drop down box as shown in figure 10.
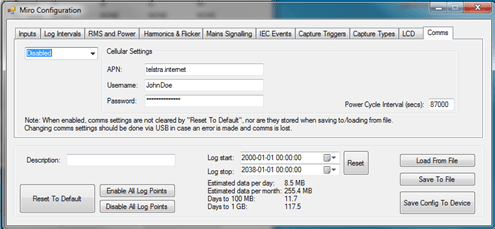
Step 10 : Click on the ‘Save Config to Device’ button.
The instrument has now been updated with the new configuration and is now enabled for Cellular communications.
Step 11 : If you wish, click on the LCD tab and tick the ‘Comms Status’ checkbox as shown in figure 11.
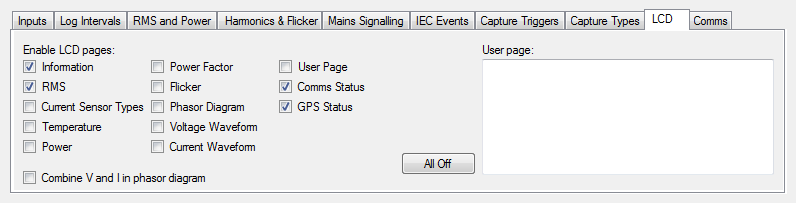
Step 12 : Then again click on the ‘Save Config to Device’ button.
The MIRO when next powered up will display on the graphical LCD the comms status and other information as selected in the LCD tab in the configuration menu. An example is shown in figure 12.
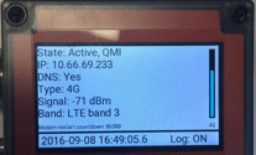
Note: SIM must have a fixed IP address.